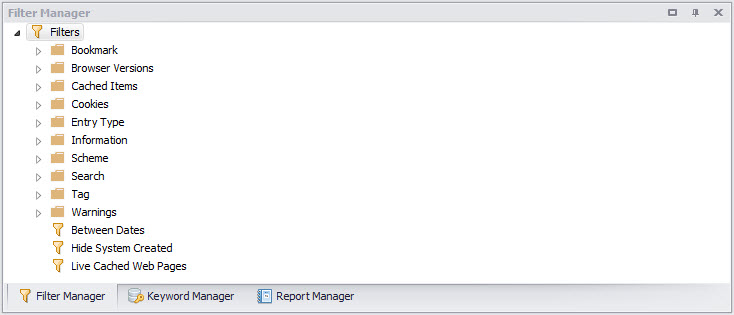
The filtering and searching capabilities have been considerably enhanced. The user can filter records via column filters, the auto-filter row, filter editor, filter manager and quick search panel. The filter manager allows the user to store, order and configure any number of filters.
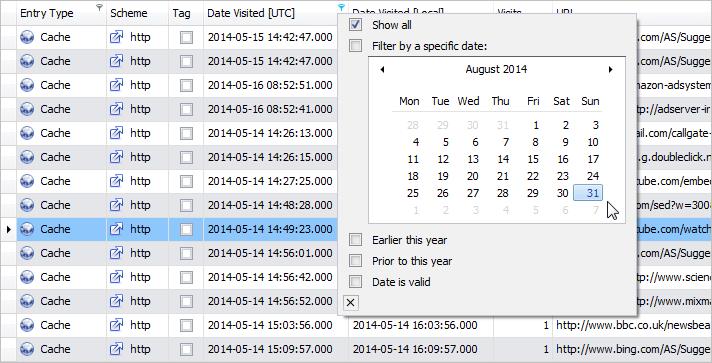
Each column header has a small filter icon; clicking on this icon allows the user to select filter criteria for that column. In the case above, the user has selected a date filter.
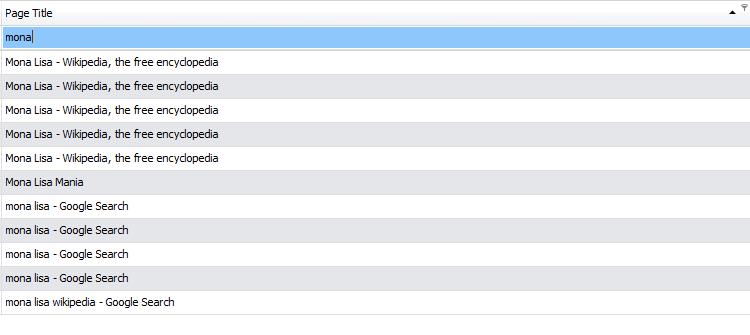
The auto-filter row, when activated, appears under the column header. This allows the user to filter rows based on the search string.
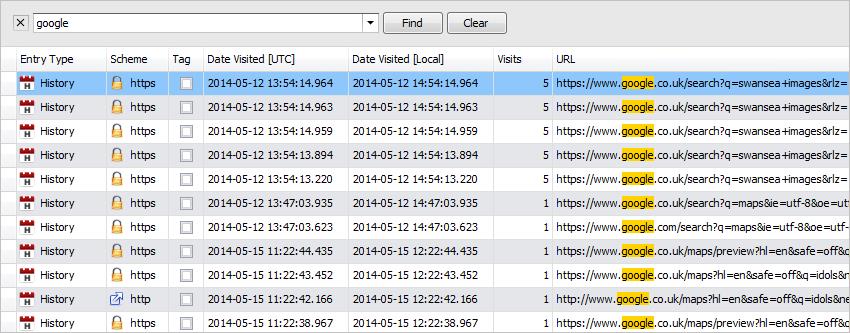
In the example above, the user has searched for the text “google” across all rows and columns. NetAnalysis® automatically filters and highlights the hits so the user can easily review the matches.
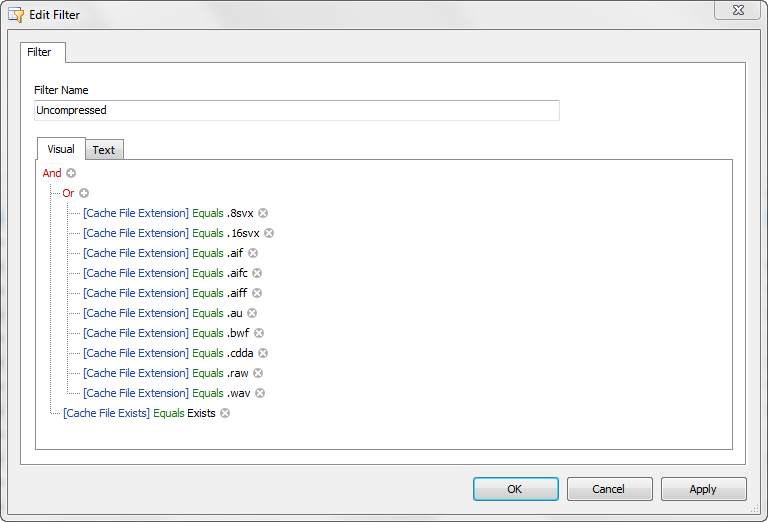
The visual filter editor is extremely powerful and makes it a simple task for the user to build complex queries which can be saved for later re-use. The user no longer has to have an understanding of SQL to create powerful queries.
The filter manager is located in a docking panel and allows the user to easily create, edit, save and categorise all the filters they would need during a forensic investigation.
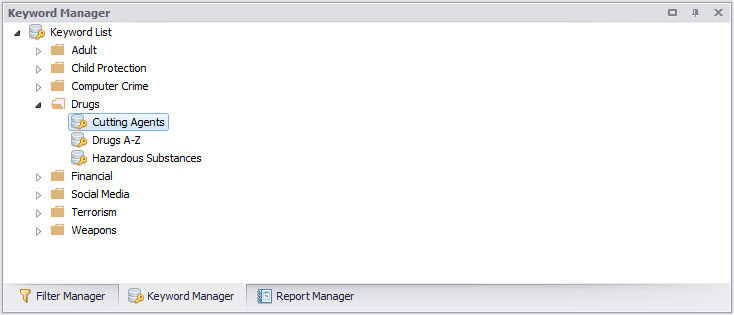
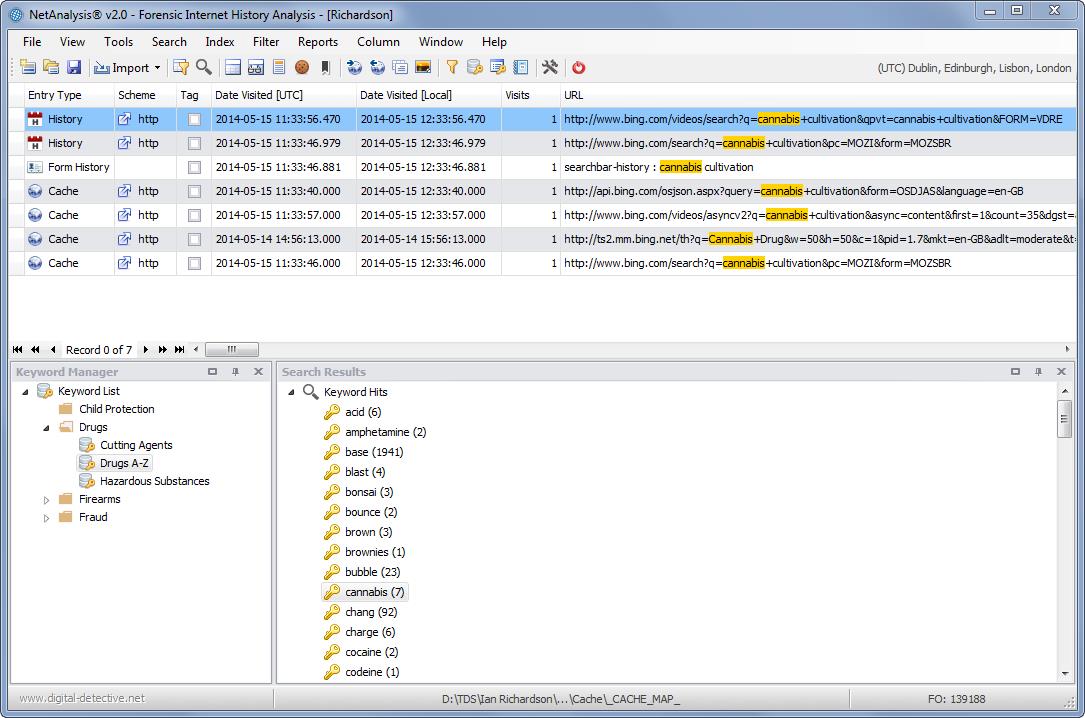
The keyword manager is also located in a docking panel and allows the user to create, edit, save and categorise lists of keywords that can be searched against imported data. Keywords can be easily shared between users.
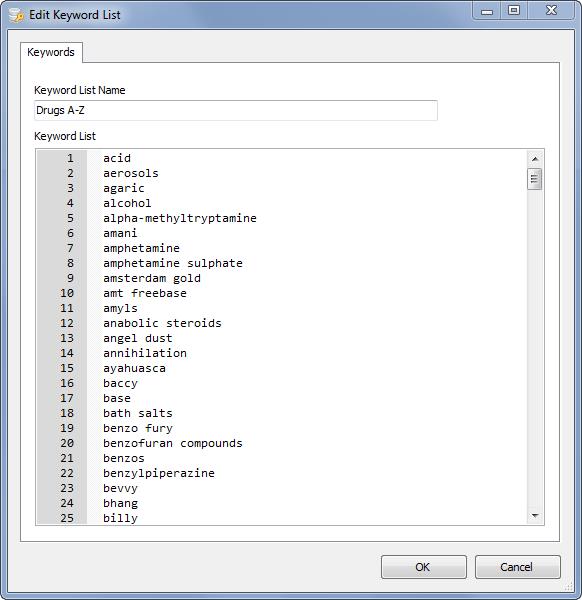
Keyword lists can be easily maintained via the keyword manager. The above example shows a list of keywords relating to drugs.
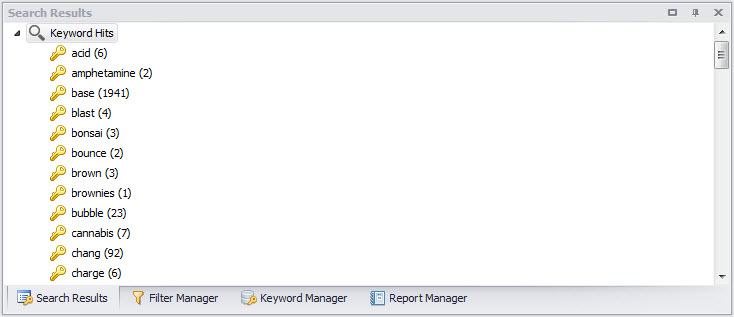
When a keyword list is searched, any hits are added to the search results panel for review.
To review the search results, the user double clicks on a keyword from the list and the corresponding hits are automatically filtered and highlighted in the grid.


